Hi Mami,
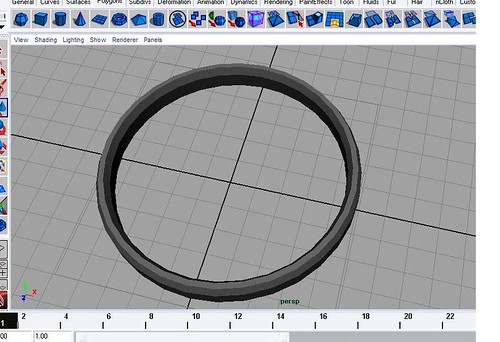
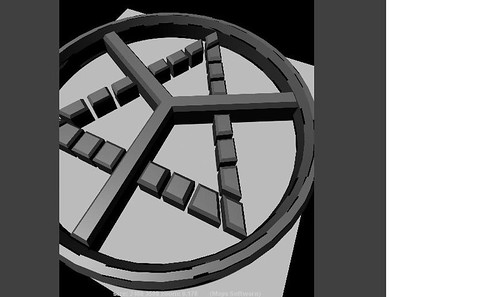
When rendering NURBs objects you need to be awhere of render tesselation. All NURB's objects when rendered in Maya are converted into triagular polygons this is called tesselation. The default settings are quite low and so you may need to increase your models render tesselation.
You can do this by selecting the object and the press ctrl-a to open the attributes of the object. There are a number of different ways to adjust the render tesselation. Look for all the tabs the have "tesselation" in them.
You want to keep the tesselation as low as possible while still getting the quality you want from the render as increasing the tesselation will also increase render time.
The simplest thing to do is first check the box that says "display render tesselation" and this will show how your selected object will be converted to a polygonal object for rendering. Under simple tesselation you can choose between different levels low, medium, and high quality.
I find this rarely works for me and I end up turning on "advanced tesselation" and then adjust the "per span" value in u and v.
There is also a check box for "smooth curve" which can be helpful to turn on.
I am sorry I don't really have a workflow to get the best settings. I usually end up just fiddling with the zillion check boxes and sliders until I get something that is to my liking.
Good Luck,
Rick M.
Last edited by ctbram; 31-03-2007 at 01:40 PM.


