This course will look at the fundamentals of rendering in Arnold. We'll go through the different light types available, cameras, shaders, Arnold's render settings and finally how to split an image into render passes (AOV's), before we then reassemble it i
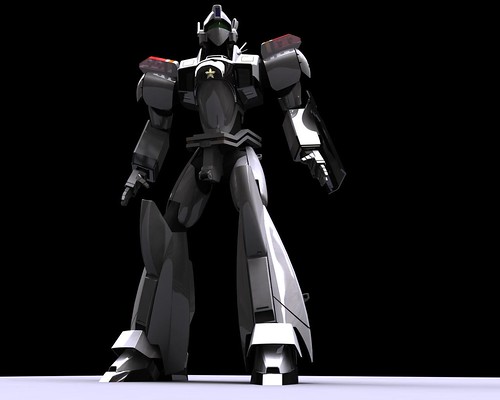
I posted this a few months ago in the WIP forum. After some procrastination I got around to finishing the modelling, texturing and rigging. Hopefully I'll have a few animations done before long.
Any feedback/tips/pointers are appreciated!
(Images link back to hi-res pics on my flickr account)
Thanks FubaR,
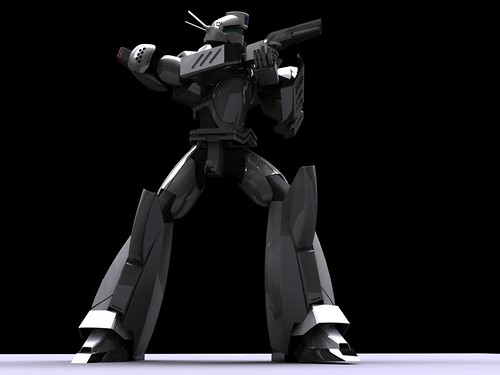
I'm thinking of doing some simple walk, run, draw gun, etc clips that I can reuse down the line. So far the biggest challenge has been to avoid self intersections everywhere...
YTV probably has some reruns at some odd hour in the night, but I haven't seen it on tv for awhile. There's always the dvds if you get the urge I guess.
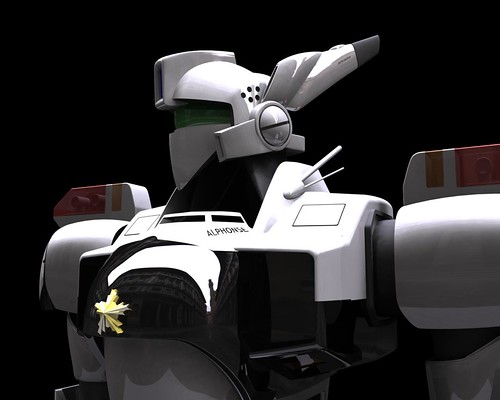
Yup, everything except the gun, hands, and joints. For smooth curved surfaces I find them easier to model with. (Although texturing proved to be a *major* pain)
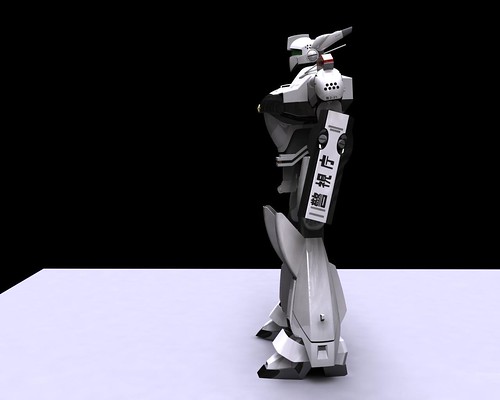
I used a script from www.youneedthisman.com called biped factory to make the initial skeleton. It basically did all the work of creating/labelling the bones and FBIK character =)
Binding wasn't too bad since mostly I used rigid binds...but I made a big big mistake of instancing instead of duplicating the other half of the body. Totally screwed up the bindings, since all instances get bound to the same bone :angery:
You may not post new threads |
You may not post replies |
You may not post attachments |
You may not edit your posts |
BB code is On |
Smilies are On |
[IMG] code is On |
HTML code is Off