Introduction to Maya - Modeling Fundamentals Vol 2
This course will look in the fundamentals of modeling in Maya with an emphasis on creating good topology. It's aimed at people that have some modeling experience in Maya but are having trouble with
complex objects.
#
61
29-02-2008
, 04:15 AM
#
62
29-02-2008
, 04:32 AM
"No pressure, no diamonds" Thomas Carlyle
#
63
29-02-2008
, 05:17 AM
So be warned, if you use UV space like this
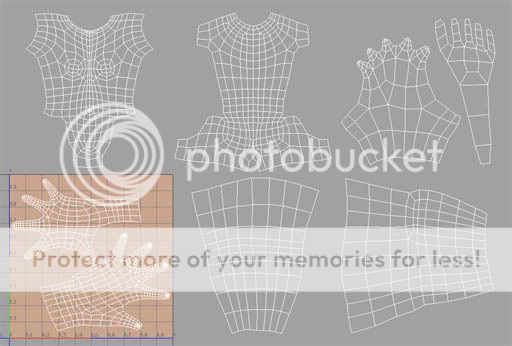
to make use of UV groups in Zbrush, you may get normal maps that look like this

Which is not ideal.
If anyone knows of an update/work around to resolve this without having to go between ZB2 and ZB3 let please say.
Cheers
Gio
#
64
01-03-2008
, 12:15 AM
something like this prob
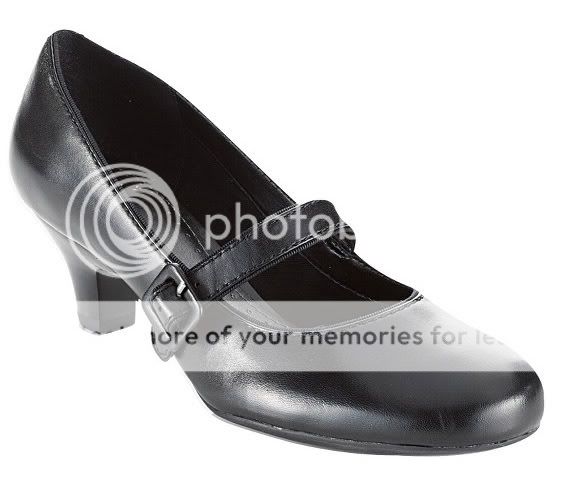
here's a start
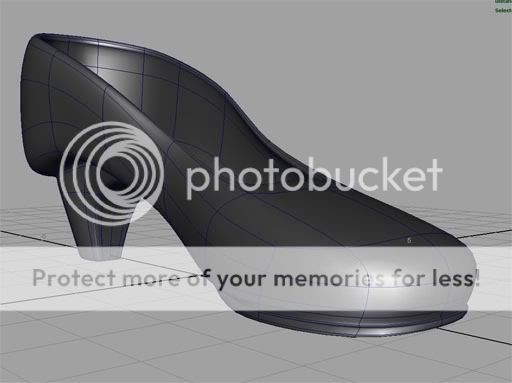
Cheers
Gio
#
65
01-03-2008
, 02:36 AM
small tip, build the heels etc separately, it will save you a whole load of crap later and will look better too...
Jay
#
66
02-03-2008
, 10:20 AM

#
67
02-03-2008
, 09:18 PM
Managed to borrow a shoe from a lady friend to help with this so here's an update. Gonna keep the mesh simple and put the rest of the detail in with normal maps as I won't be going in close.
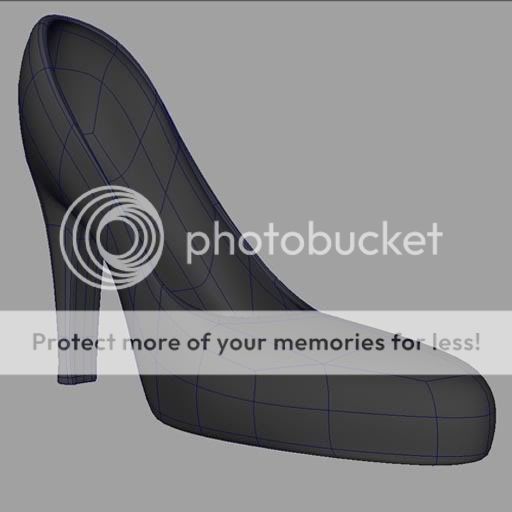
Cheers
Gio
#
68
03-03-2008
, 09:19 PM
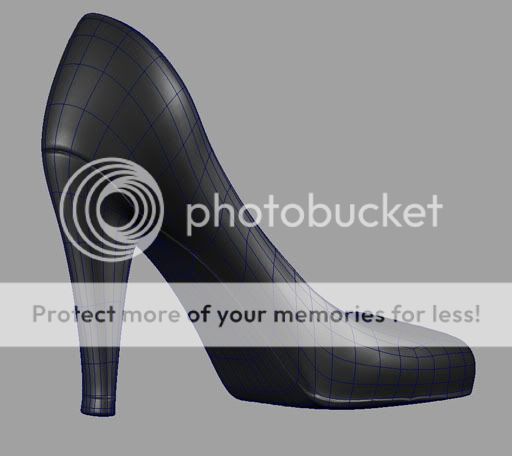
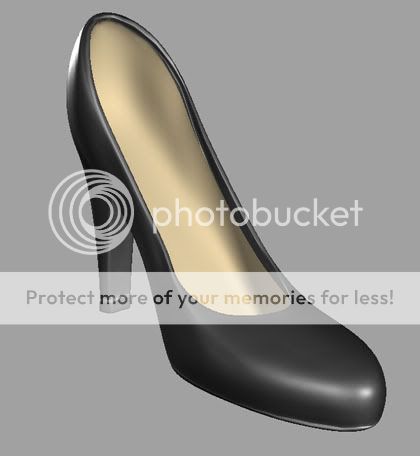
Med res shoe with normal map, will re-model the feet to fit high heels next
Cheers
Gio
#
69
04-03-2008
, 09:32 AM
Cheers!

#
70
04-03-2008
, 10:53 AM
Just a small comment really, I dont think the shoes are benefiting from a normal map. You may as well have just cut in one or two extra loops to get a sole line and then be done with it.
Sorry dude I just cant see the benefit here, I just feel you may have wasted a little bit of time for something that doesnt notice a great deal...and wont be seen
Cheers for now
Jay
#
71
04-03-2008
, 03:14 PM
Jay: the point is that I won't use the map in most shots, if I go close enough that I can see the seam, then I apply the map.
cheers
Gio
#
72
04-03-2008
, 06:05 PM
No matter, carry on....
I'll be in touch later...
Jay
#
73
04-03-2008
, 11:09 PM
#
74
09-03-2008
, 07:56 AM
Just wanted to say that I believe a solution for the multi uv zmapper problem is to use a group split on the model before you go into Zmapper. I haven't tried it myself yet but thought I would mention it anyway. Although if you do just exprt the maps and not the tool as I found it affected the scale.
I will post proper update soon
Gio
#
75
09-03-2008
, 11:06 AM
Just quickly got the hand textured this afternoon, nearly done with colour and then create details for normal after.
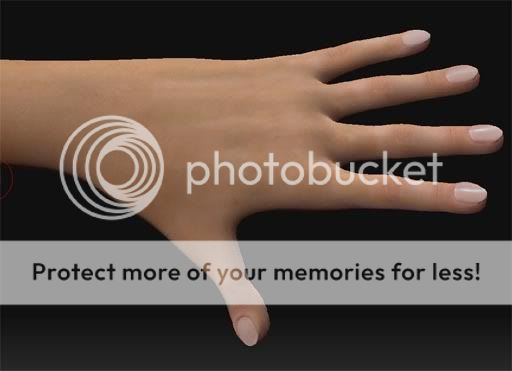
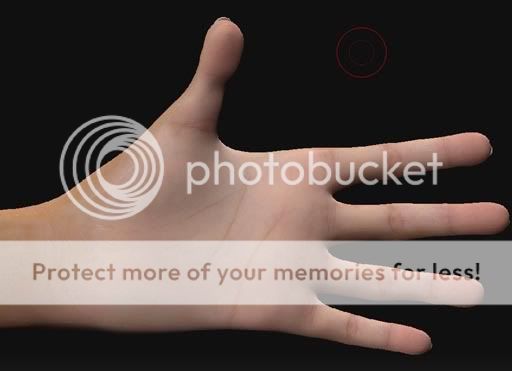
Cheers
Gio
Posting Rules Forum Rules
Similar Threads
Professor Cain - The Talos Project
by GioChrono in forum Finished Work replies 18 on 08-06-2008
Old Professor - The Talos Project
by GioChrono in forum Work In Progress replies 92 on 19-02-2008
Project WIP blog
by LauriePriest in forum Work In Progress replies 0 on 07-12-2007
Newbie to Maya - Dragon Project WIP
by Toxic Bunny in forum Work In Progress replies 26 on 14-12-2005
SciFI project wip
by korben in forum Work In Progress replies 18 on 16-12-2003
Topics
New tutorial - Create tileable textures from photos. Photoshop to Alchemist to Maya 2
By David
Site News & Announcements
3
Free Courses
Full Courses
VFX News
How computer animation was used 30 years ago to make a Roger Rabbit short
On 2022-07-18 14:30:13
Sneak peek at Houdini 19.5
On 2022-07-18 14:17:59
VFX Breakdown The Man Who Fell To Earth
On 2022-07-15 13:14:36
Resident Evil - Teaser Trailer
On 2022-05-13 13:52:25
New cloud modeling nodes for Bifrost
On 2022-05-02 20:24:13
MPC Showreel 2022
On 2022-04-13 16:02:13


