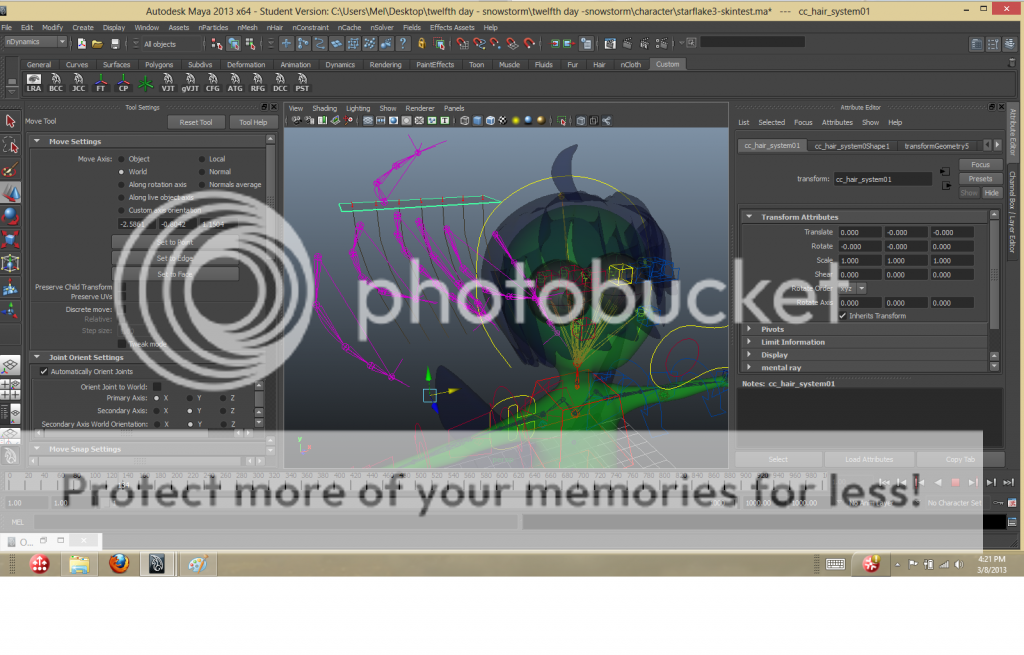
So, I've been working a simple cartoonish character with kind of chunky polygonal hair. Using this tutorial about how to make grass move with Hair dynamics - https://vimeo.com/6044700 - I tried to get my character's hair to move in a similar slight movement way (i couldn't find too many good tutorials out there on hair that didn't use the hair follicle system visually and just use the joint movement from hair dynamics).
Basically I created the joints for the hair separate from the character's skeleton (which is already rigged and skinned, and the hair mesh is separate too). Then, as in the video, I created a nurbs plane then I created a hair system from that. I found I couldn't get the standard method to work as he had, so I had to use the nHair paint fx + nurbs curves blend, which produced the results he got, but mine had a separate paint fx object in the outliner. When I moved the nurbs plane everything was okay with the dynamics working, as:

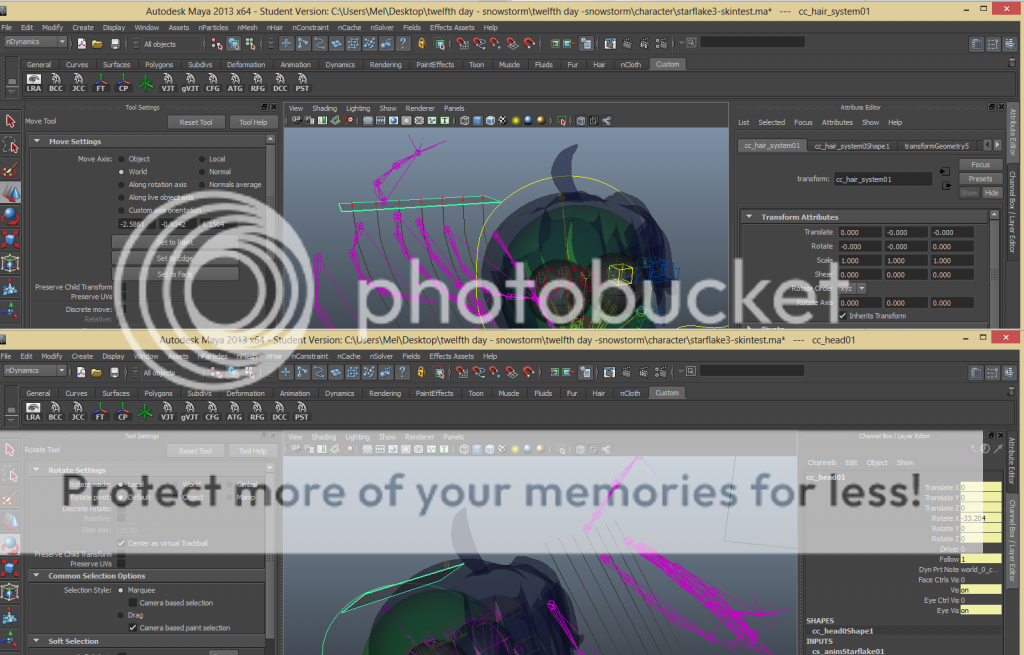
But when I tried to parent that plane to the head controls or head bone, the controls swing all over the place:

Errr... Sorry I didn't realise the print screen was wonky on this one, but you get the idea (lower image) - the follicles or paintfx system swing off the plane even though they should be following the plane, i think....
I've tried to do this kind of hair on other characters before but I usually end up in strange loops like this that somehow almost work but not quite.
If you've any tips, they're much appreciated! I just haven't been able to find a solid, updated tutorial on how to do this and how to go about grouping and parenting everything so it works.
Thank you!


