Maya for 3D Printing - Rapid Prototyping
In this course we're going to look at something a little different, creating technically accurate 3D printed parts.
#
1
26-01-2014
, 02:15 PM
How to fix this UV map?
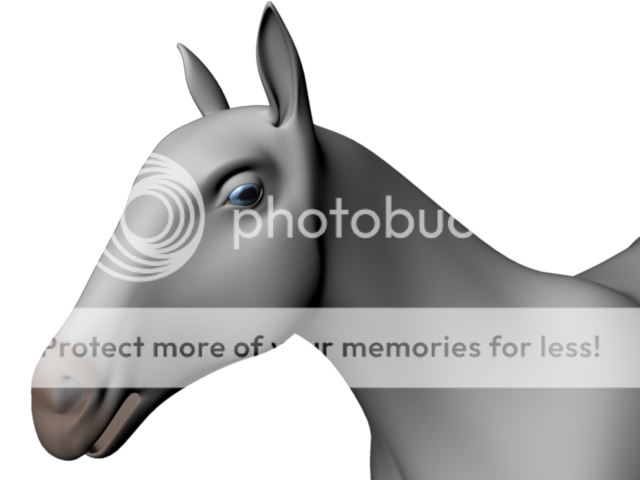
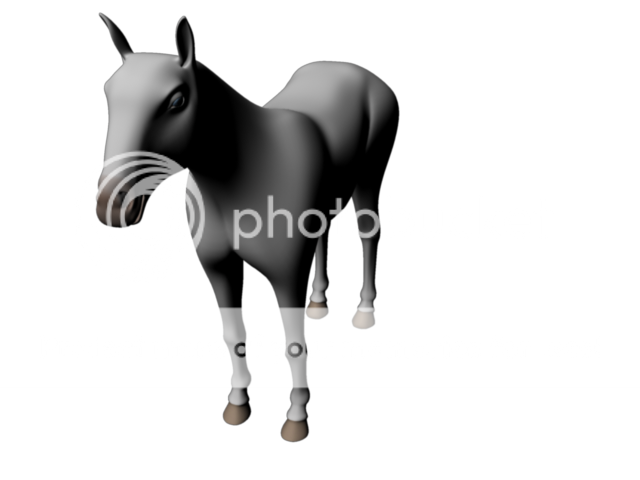
How do I fix this? What type of mapping should I choose?
#
2
26-01-2014
, 07:57 PM
#
3
26-01-2014
, 08:28 PM
#
4
26-01-2014
, 08:52 PM
EduSciVis-er
Join Date: Dec 2005
Join Date: Dec 2005
Location: Toronto
Posts: 3,374
#
5
26-01-2014
, 10:33 PM
Well, I've eventually managed to make the horse's nose pink by using only a ramp texture and moving the UVs around after applying cylindrical mapping. It looks closest to what I wanted the map to look like.There's no mapping method that will give you a proper UV (like you see in people's portfolios) with one click. It takes some thinking and proper application of a few tools to really optimize it.


But if I wanted to export it to Photoshop (and I've done this previously with the auto map), what can I do to apply the saved changes to the map in Maya? Reloading it doesn't seem to do anything, the texture looks exactly the same as if it weren't painted.
#
6
26-01-2014
, 11:17 PM
Registered User
Join Date: Aug 2011
Join Date: Aug 2011
Location: Sliema Malta
Posts: 497
At the 11 minute mark of this video he briefly shows it. I use Ninjabake in NinjaDojo.
Complete dDo Breakdown - YouTube
#
7
04-02-2014
, 12:26 PM
Registered User
Join Date: Feb 2014
Join Date: Feb 2014
Posts: 7
UV' help
orange color show reverse uv's and violet show overlapped uv's at last for uv' shell u just made. u can put some smooth uv's tool to world space for extend the unfold iterations too that's it

Posting Rules Forum Rules
Similar Threads
Import image as UV map.
by Keruanima in forum Maya Basics & Newbie Lounge replies 1 on 05-12-2015
Textures not linking to tutorial maya....
by dan003 in forum Maya Basics & Newbie Lounge replies 2 on 07-03-2015
Models UV map is tiny little squares
by electronicstate in forum Maya Materials & Textures replies 3 on 18-09-2014
Zbrush UV/Polypaint issues? UV Map messes up before export?
by JustMcCollum in forum Maya Technical Issues replies 2 on 10-10-2012
UV Snapshot/Missing Map
by Fess in forum Maya Materials & Textures replies 0 on 27-06-2006
Topics
New tutorial - Create tileable textures from photos. Photoshop to Alchemist to Maya 2
By David
Site News & Announcements
5
Free Courses
Full Courses
VFX News
How computer animation was used 30 years ago to make a Roger Rabbit short
On 2022-07-18 14:30:13
Sneak peek at Houdini 19.5
On 2022-07-18 14:17:59
VFX Breakdown The Man Who Fell To Earth
On 2022-07-15 13:14:36
Resident Evil - Teaser Trailer
On 2022-05-13 13:52:25
New cloud modeling nodes for Bifrost
On 2022-05-02 20:24:13
MPC Showreel 2022
On 2022-04-13 16:02:13


