Introduction to Maya - Rendering in Arnold
This course will look at the fundamentals of rendering in Arnold. We'll go through the different light types available, cameras, shaders, Arnold's render settings and finally how to split an image into render passes (AOV's), before we then reassemble it i
# 46 01-11-2006 , 10:08 AM
FubaR's Avatar
Registered User
Join Date: Jun 2004
Posts: 279
Try to create the AO shader in a different way. For example:
1. Go to Windows->Rendering Editors->Hypershade
2. Create a Surface Shader
3. Go to Textures (left bar) and create mib_amb_occlusion node.
4. Connect out-value of AO node with out color of Surface Shader.
5. Increase the samples of your AO node to 64 (or higher). Select the objects you want to be rendered in AO and assign the new shader.
6. Render in Mental Ray.
Any questions?^^
Of course, AO is just a method to improve your final composition.
user added image

# 47 05-11-2006 , 02:21 PM
Lok1's Avatar
Registered User
Join Date: Oct 2006
Location: Florida
Posts: 73
Hey thanks that seems to make a little more sense I will try that today.


Just make it work

www.createdestroy.net/kcin
# 48 06-11-2006 , 01:15 PM
Lok1's Avatar
Registered User
Join Date: Oct 2006
Location: Florida
Posts: 73
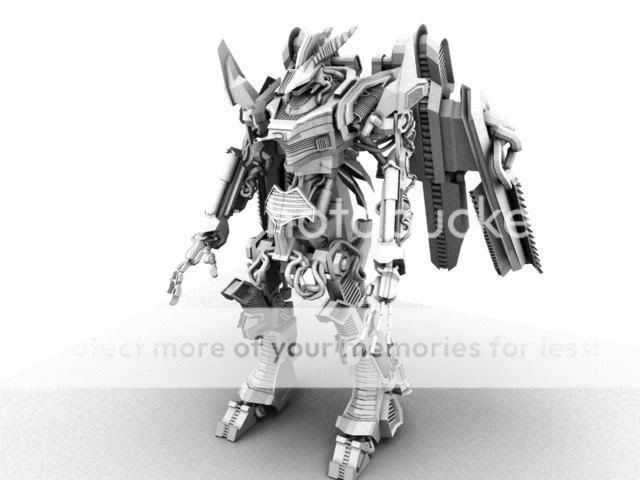
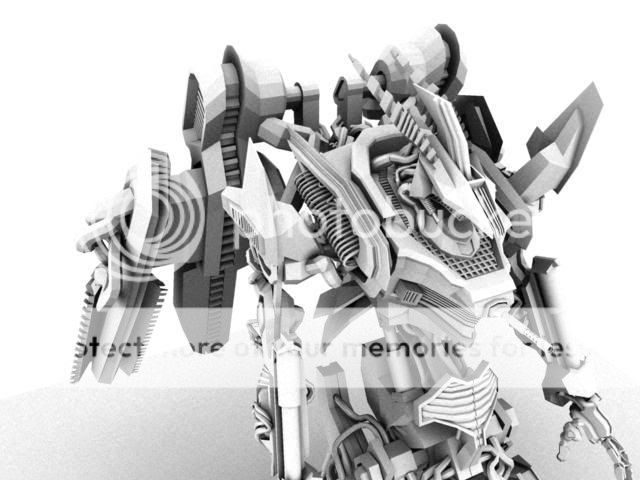
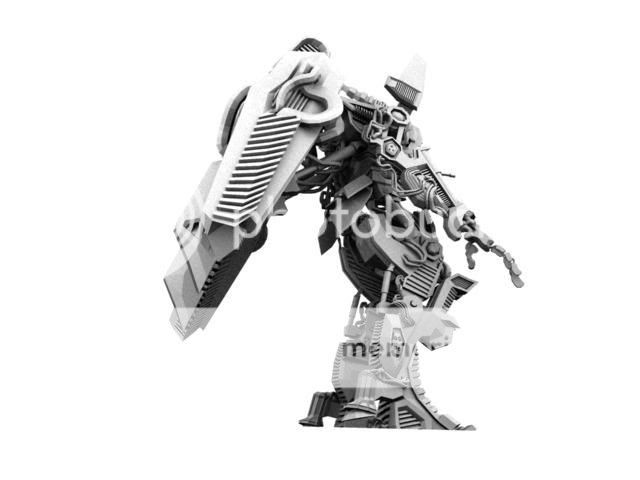
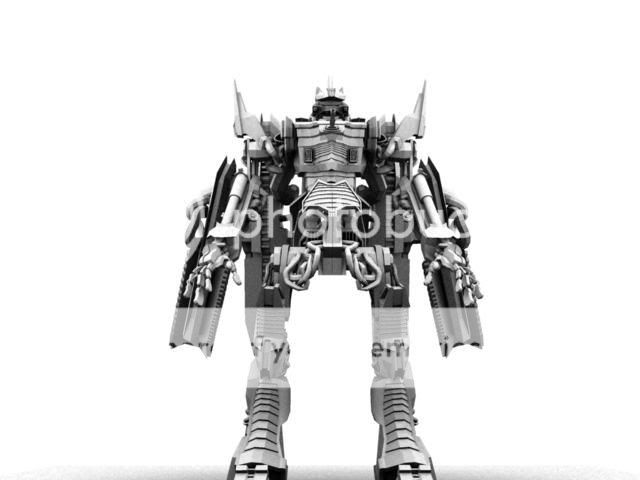
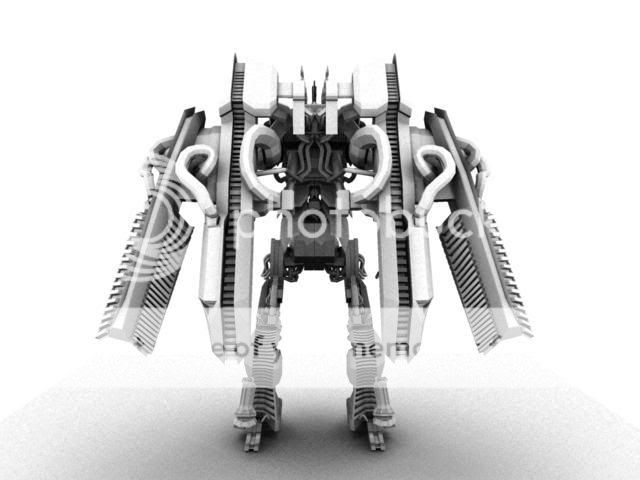
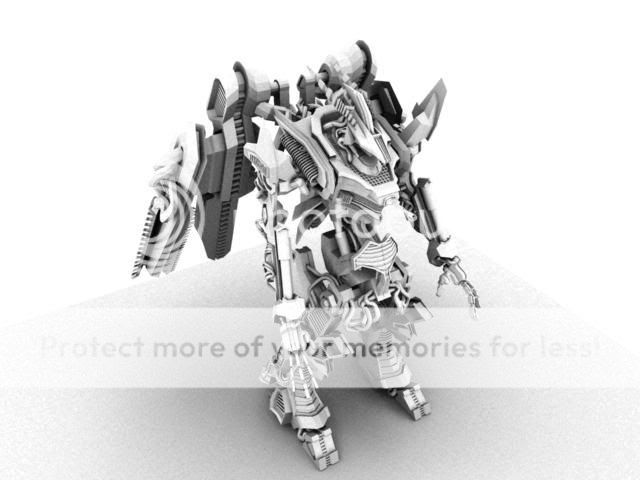
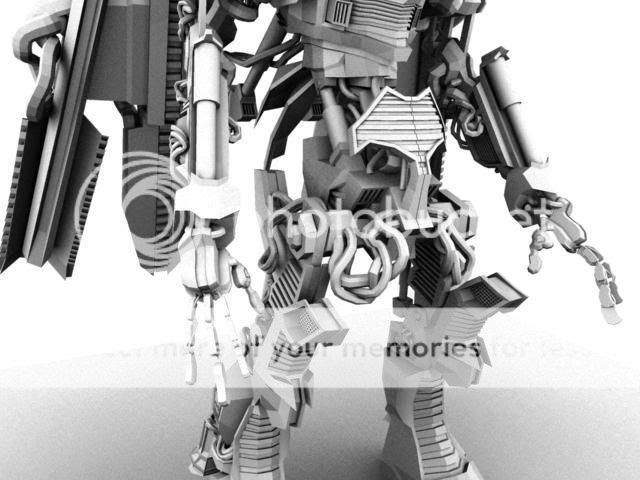
Alright I think I figured out the Ambient render setting in Mental ray. Here are those renders you all have been asking for the "lighter ones". I hope these renders show all my minor detials a little better. Not much has been updated due to I have been super Busy. But i did find some time to updte the head I hope you like the new version better.

user added image

user added image

user added image

user added image

user added image

user added image

user added image

Crits please... and yes i know i have a hole in the middle i forgot to fix it. I will fix it soon.


Just make it work

www.createdestroy.net/kcin
# 49 06-11-2006 , 01:44 PM
NeoStrider's Avatar
Registered User
Join Date: Jun 2004
Location: Cleveland, Ohio (USA)
Posts: 1,541
this last set of renders showcases the details in your model almost perfectly... i never realized how many intricacies you've modeled. simply amazing. how did you go about doing them, primitives, booleans, or just extruding?


Accept no substitutions.
# 50 06-11-2006 , 01:52 PM
Lok1's Avatar
Registered User
Join Date: Oct 2006
Location: Florida
Posts: 73
the only tools I used to make this were /split polygon/extrude/EP curve/mirror geometry ... basically your common modeling tools, and thanks


Just make it work

www.createdestroy.net/kcin
# 51 06-11-2006 , 04:00 PM
arran's Avatar
Registered User
Join Date: Dec 2005
Location: Brooklyn, NY
Posts: 3,708
awesome work mate ! The detail on your mech are making my head hurt. I like some of your other models as well. well done! user added image

# 52 06-11-2006 , 07:12 PM
Lok1's Avatar
Registered User
Join Date: Oct 2006
Location: Florida
Posts: 73
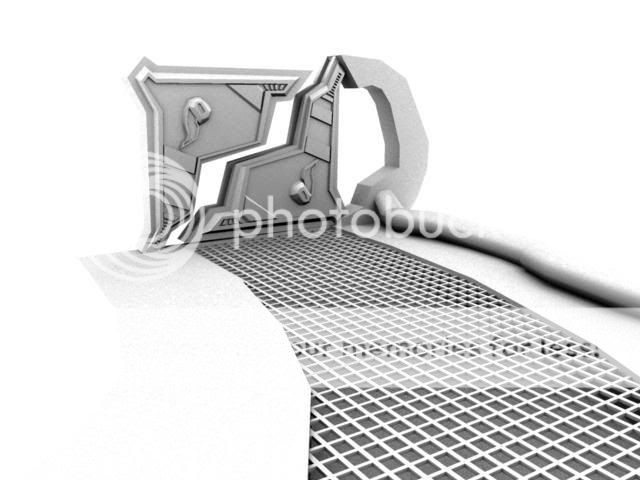
I thought I would post a scren of my most recent project that im working on for a class of mine.... super early stages only been working on it for a day now tell me what you think... sry for the one being so dark.

user added image

user added image


Just make it work

www.createdestroy.net/kcin
# 53 06-11-2006 , 07:14 PM
NeoStrider's Avatar
Registered User
Join Date: Jun 2004
Location: Cleveland, Ohio (USA)
Posts: 1,541
makes me wanna go play doom or quake or halflife or something user added image

(read: very nice)


Accept no substitutions.
# 54 06-11-2006 , 07:46 PM
Lok1's Avatar
Registered User
Join Date: Oct 2006
Location: Florida
Posts: 73
lol yea it does me too... but i cant because this project is due in a week and a half so i have to work non stop on it.


Just make it work

www.createdestroy.net/kcin
# 55 06-11-2006 , 07:50 PM
NeoStrider's Avatar
Registered User
Join Date: Jun 2004
Location: Cleveland, Ohio (USA)
Posts: 1,541
just a modeling class, i take it?


Accept no substitutions.
# 56 06-11-2006 , 08:26 PM
Lok1's Avatar
Registered User
Join Date: Oct 2006
Location: Florida
Posts: 73
nope I have to texure it too


Just make it work

www.createdestroy.net/kcin
# 57 07-11-2006 , 01:21 AM
Lok1's Avatar
Registered User
Join Date: Oct 2006
Location: Florida
Posts: 73
Alright here is a update... I lightened up the scene.

user added image

user added image


Just make it work

www.createdestroy.net/kcin
# 58 09-11-2006 , 09:44 AM
AnthonyCg's Avatar
Registered User
Join Date: Jun 2006
Location: Washington D.C
Posts: 620
Very good detailing.


"The reasonable man adapts himself to the world; the unreasonable one persists in trying to adapt the world to himself. Therefore all progress depends on the unreasonable man."

George Bernard Shaw - Man and Superman
# 59 09-11-2006 , 01:17 PM
Lok1's Avatar
Registered User
Join Date: Oct 2006
Location: Florida
Posts: 73
Hey thanks man I hope to have some more updates soon...


Just make it work

www.createdestroy.net/kcin
# 60 17-11-2006 , 02:36 AM
Registered User
Join Date: Jun 2003
Location: Toronto Canada
Posts: 27
looking really cool man, is this your own design?

how are you going to texture it? I'd like to find a way to texture/shade the robot i'm working on but i'm not sure how to get the most realistic metal effect.

I think there must be a way to have a base metal shader and a roughed up painted metal shader... and then then simply paint a black and white map for the objects to decide where is painted and where is scuffed metal... I can't figure it out with the Mix 8 shader though... maybe it would be better to use Maya render and Layered shader?

anyone?


Current WIP: <A HREF="https://forum.simplymaya.com/showthread.php?s=&threadid=20529">Feng Zhu Concept: Junk Robot</A>
Posting Rules Forum Rules
You may not post new threads | You may not post replies | You may not post attachments | You may not edit your posts | BB code is On | Smilies are On | [IMG] code is On | HTML code is Off

Similar Threads