Ok heres the better set of instructions that will work for ever versions on maya
1. Render Settings window > Image Based Lighting section > click on the Create IBL button. Now set the IBL mode to texture and set the texture color to white (you can set the V - from HSV - to higher than 1 values to get whiter results).
2. In the Mental ray tab under render settings, at the very top should be quality presets. Use Productions for you preset so there is less editing.
3. Under the Anti-Aliasing tab, set the min samples to 2 and the max samples to 4. Also, set the filter to mitchell
4. Under the Final Gathering tab, make sure u check the box to enable Final Gather, enable the Final Gather View (Pixel Size) and set the FG min/max to 2-20. Also increase the FG Filter to 2 and choose an appropriate FG rays number ( on mines, i choose 1024 ::the accuracy part: . Oh and to get better images, enable Secondary Diffuse Bounces, then set the FG Depth/Reflect/Refract to 3/3/0 (this means 3 secondary bounces) and also set the Shadow Trace Detph to 4 (it's under the Raytrace section)
5. Render Settings window > disable default light
6. Next go into ur hypershade and choose a DGS_material.
Difuse: A Light sliver or whatever color you want ur clay to look like
Glossy: Pure Black
Specular: Pure Black
Shiny: 50.000
Shiny_u: 0.000
Shiny_v: 0.000
Transp: 0.000
lor: 1.000
now u have all the settings, under ur car create a plane for the car to sit on and 1 plane to go into the background so that you dont see anything open. I applied the default lambert on those planes so that the car doesnt blend in with the background and apply the DGS_Material to the complete car.
There you go, I hope this helps
Toyota Supra WIP
I create feeling in others that they themseleves don’t understand.
Last edited by 99GsTurbo; 05-04-2007 at 09:24 AM.
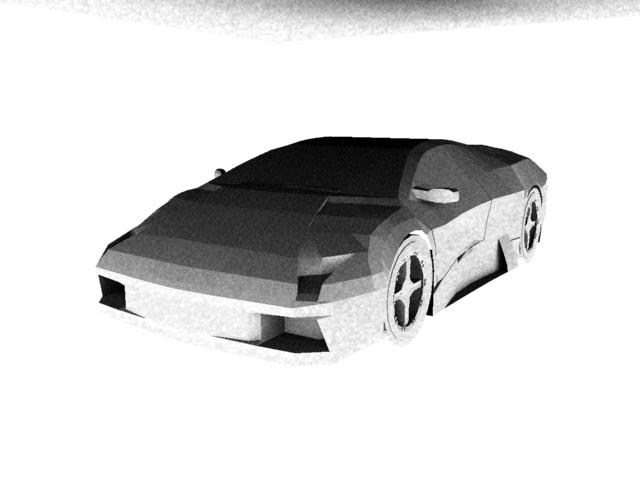
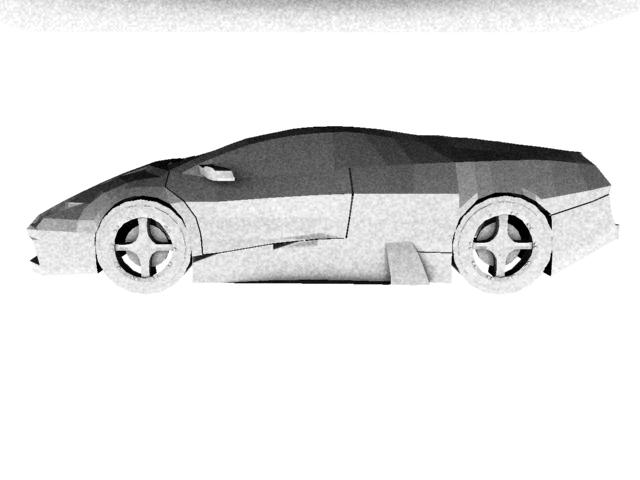
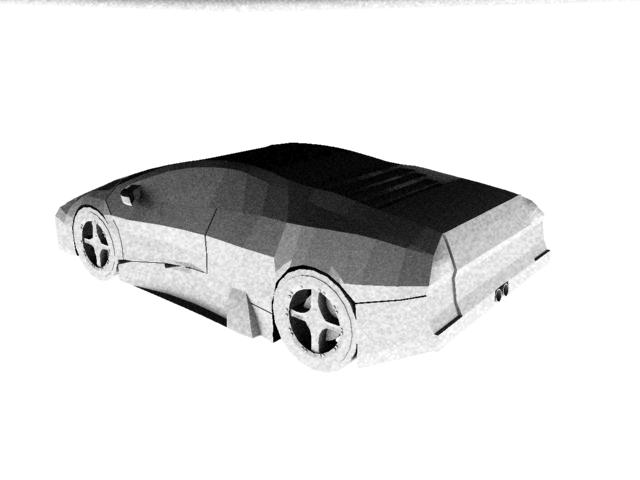


 lol dam
 . Oh and to get better images, enable Secondary Diffuse Bounces, then set the FG Depth/Reflect/Refract to 3/3/0 (this means 3 secondary bounces) and also set the Shadow Trace Detph to 4 (it's under the Raytrace section)
 ill post it later on when i eat lunch if bagera dosnt mind