Substance Painter
In this start to finish texturing project within Substance Painter we cover all the techniques you need to texture the robot character.
# 1 17-05-2012 , 01:00 PM
djwaterman's Avatar
Registered User
Join Date: Nov 2011
Location: Sydney
Posts: 196

Simple planar UV Problem Grrr

I tried everything before posting this stupid question. I can't seem to do what should be a super simple UV map texture placement. Look at this...

user added image

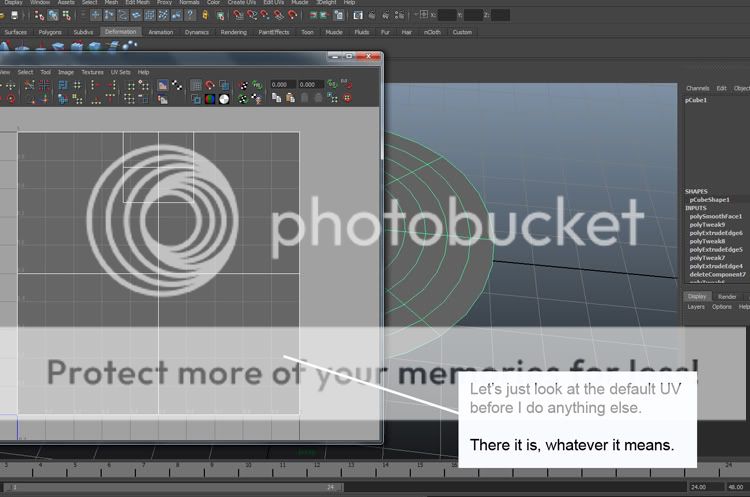
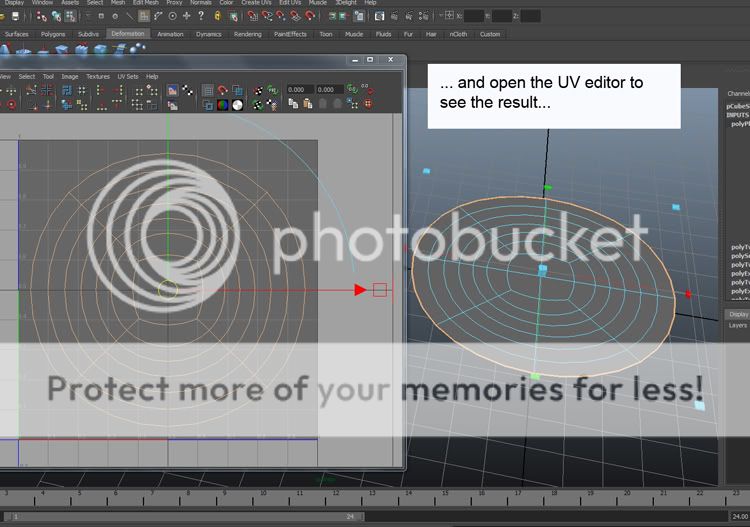
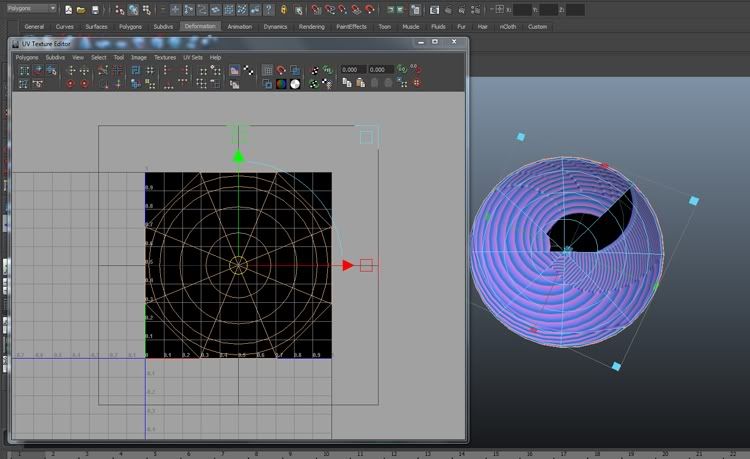
That's my object with a surface to be UV'd on one side, and also that's the resulting UV view opened up.

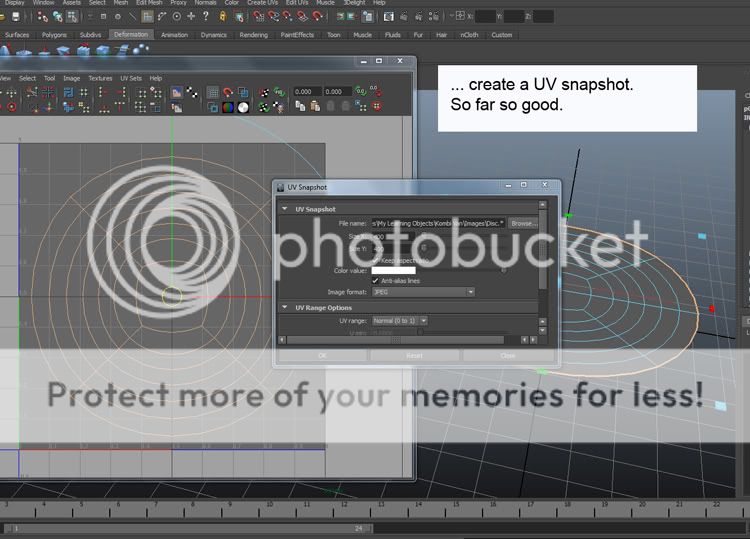
So I snapshot that and took it into Photoshop and fitted my texture into it. See below...
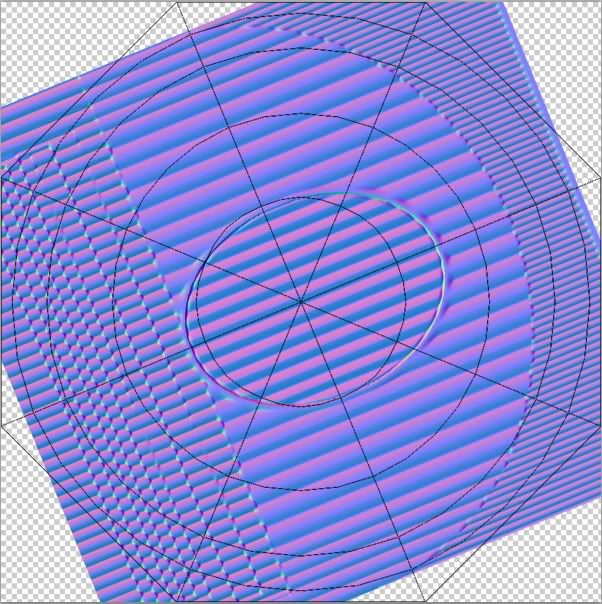
user added image

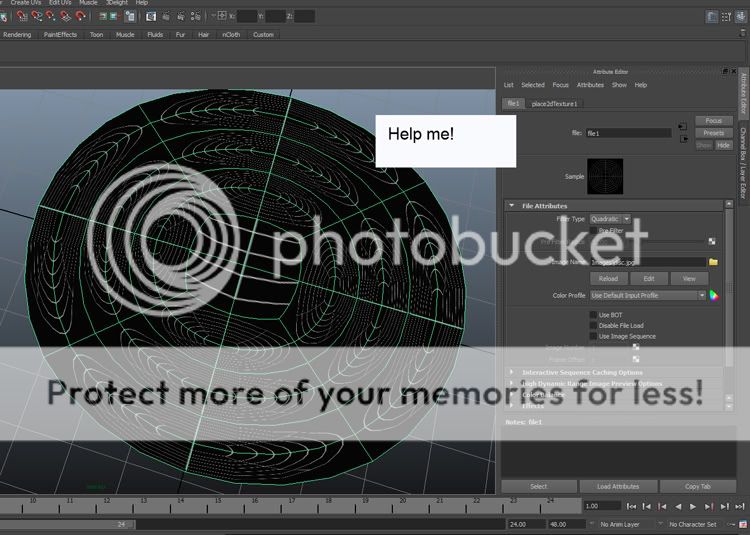
...but as you see the texture is all spirally and twisted, also I can't even get that image to show up in the background of the UV texture editor.

Basically I don't understand what to do to get the imaged assigned to the UV map correctly, I generated a UV but so what, there's no slot in the material attributes that is asking for a UV map, I don't understand and no tutorial seems to cover this part.

I'm not unwrapping, I don't need to shift points around to fit the reference, my texture just needs to map directly onto the UV's. What am I missing? Please, I'm losing it.

# 2 17-05-2012 , 02:03 PM
daverave's Avatar
The thin red line
Join Date: Aug 2009
Location: England
Posts: 4,472
If its a colour map just go to the shader colour click on the box thing with arrow through it the sellect file node, is that what you mean.............dave

Edit:when you project a UV onto a mesh the UVs will stay with that mesh, to assign a texture to it you need to assign a shader with the texture or map the shader it already is using


Avatar Challenge Winner 2010

Last edited by daverave; 17-05-2012 at 02:08 PM.
# 3 17-05-2012 , 03:08 PM
djwaterman's Avatar
Registered User
Join Date: Nov 2011
Location: Sydney
Posts: 196
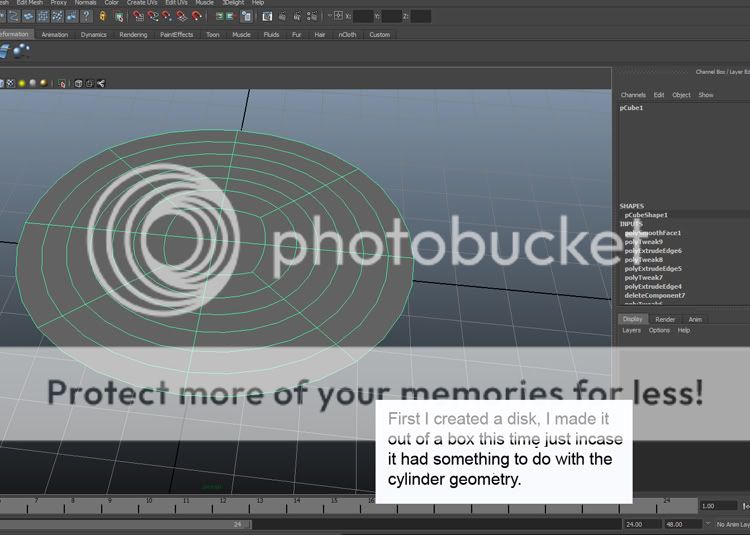
I'm too confused now to even give a reasonable response. Basically you could say I'm trying to put an image on a dinner plate, it's a polygon smoothed object created with a cylinder primitive.

I would begin by selecting the faces that make up one side of the plate and assign a shader to it (a phong say).

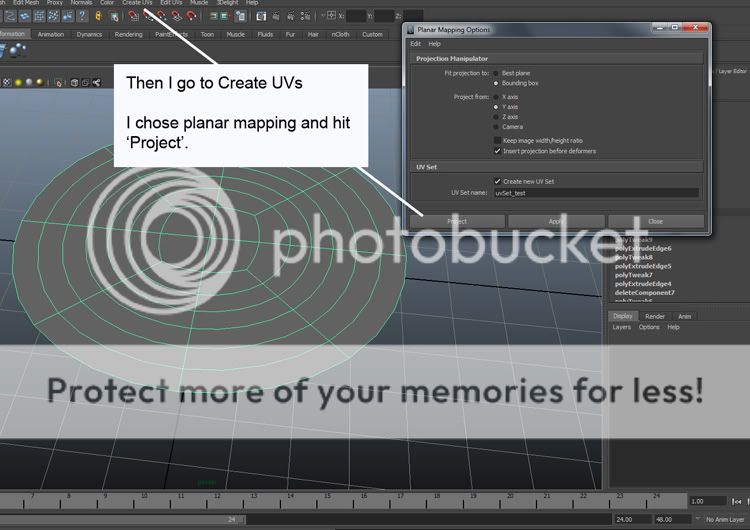
Then with those faces selected I create a planer UV that looks reasonable in the UV editor. The UV has been given a name, I have to assume it is there somewhere now part of the object.

At this stage I think I just need to go to my phong shader's color channel, import an image file into it and I expect that it might just automatically fit perfectly since as you could see in the image, it all lines up with the UV snapshot.

But it doesn't, it's as if there is no UV, only the default mapping I would get if I'd just loaded the image onto the shader's color channel before creating any UV.

Something is not making a connection in this process.

I can do the exact same proceedure to boxes and planes, it works, but with this disk shape nothing happens. I'm stumped, I can't find any tutorials that are just doing a simple thing like this.

I need to work it out to texture speedometers and headlight glass.

# 4 17-05-2012 , 03:43 PM
honestdom's Avatar
The Nurb Herd
Join Date: Oct 2007
Location: London
Posts: 2,381

it's a polygon smoothed object created with a cylinder primitive.

is it?

i didn't read the rest, but the picture doesn't look smoothed.

# 5 17-05-2012 , 03:52 PM
djwaterman's Avatar
Registered User
Join Date: Nov 2011
Location: Sydney
Posts: 196
Smoothed with (3).

# 6 17-05-2012 , 04:09 PM
daverave's Avatar
The thin red line
Join Date: Aug 2009
Location: England
Posts: 4,472
Some thing odd about your UVs they should look like this but yours are rounded, any one else seen this before................dave

Edit:When you created the disk did you delete the sides and bottom?

Attached Thumbnails


Avatar Challenge Winner 2010

Last edited by daverave; 17-05-2012 at 04:12 PM.
# 7 17-05-2012 , 04:47 PM
honestdom's Avatar
The Nurb Herd
Join Date: Oct 2007
Location: London
Posts: 2,381
nah they look the same to me.
I didn't think pressing 3 was the same as smoothing. could be that you don't have smoothed UVs.

# 8 17-05-2012 , 11:12 PM
djwaterman's Avatar
Registered User
Join Date: Nov 2011
Location: Sydney
Posts: 196
I need to add something that isn't totally clear, the geometry I'm working on has thickness, a front and a back, and I'm trying to map one side only. So faces have been selected and UV'd only on one side.

The squared off outer edge of my UV map I presume are because that edge joins the rest of the geometry. If I separate the side from the rest of the object then that outer edge becomes smooth.

My next step in this is to remake the geometry from scratch on a perfect X,Y or Z, and see if I can get it to work.

Obviously it's solvable or else what have people been doing to make eye balls all these years.

Dave, yeah I did delete the sides when I made the disc originally.

# 9 18-05-2012 , 10:32 AM
djwaterman's Avatar
Registered User
Join Date: Nov 2011
Location: Sydney
Posts: 196
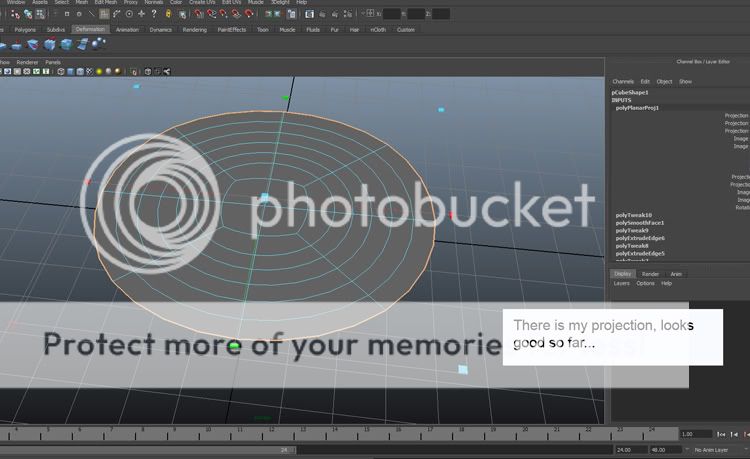
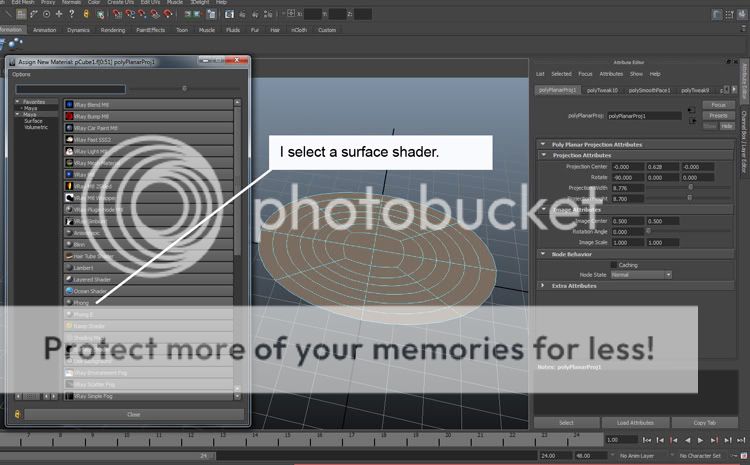
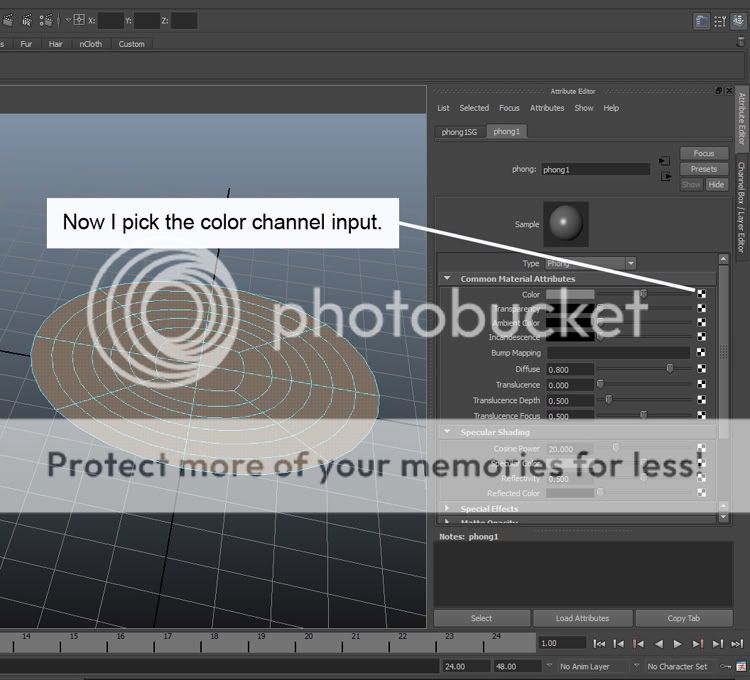
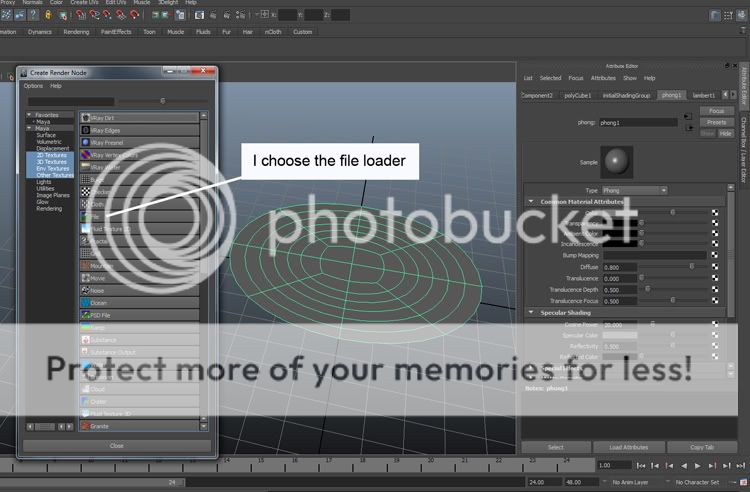
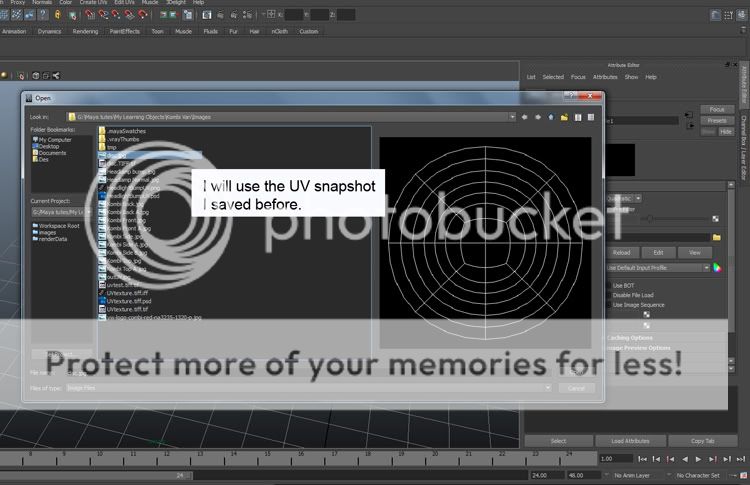
Just to illustrate a step by step of what I'm doing wrong. See if you can find the problem.

user added image

user added image

user added image

user added image

user added image

# 10 18-05-2012 , 10:33 AM
djwaterman's Avatar
Registered User
Join Date: Nov 2011
Location: Sydney
Posts: 196
user added image

user added image

user added image

user added image

user added image

user added image

# 11 18-05-2012 , 11:32 AM
Registered User
Join Date: Mar 2007
Posts: 1,055
Could you post your scene file please, and I can try and have a look.

# 12 18-05-2012 , 12:04 PM
daverave's Avatar
The thin red line
Join Date: Aug 2009
Location: England
Posts: 4,472
I cannot produce UVs like yours Im using maya 2009,go to your 2d texture node should be with your file node make sure coverage is 1 and UV repeat is set to 1 and 1 also select your mesh in the attribute editor go to smooth mesh then to extra controls make sure smooth UVs is ticked............dave


Avatar Challenge Winner 2010
# 13 18-05-2012 , 12:37 PM
djwaterman's Avatar
Registered User
Join Date: Nov 2011
Location: Sydney
Posts: 196
Here is a zip of the (scene). I saved a clean version and the one with my UV attempt. I hope you can solve this thing.

Attached Files
File Type: zip UV problem.zip (83.9 KB, 423 views)
# 14 18-05-2012 , 12:45 PM
djwaterman's Avatar
Registered User
Join Date: Nov 2011
Location: Sydney
Posts: 196
Thanks Dave, all those things you asked me to check are as they should be. I think the later versions of Maya must be able to display smooth UV mesh in the UV editor.

There must be some very simple step I'm missing out on, the results I get are exactly as if I had just thrown an image onto the shader without creating a UV, so there is a disconnect somewhere.

# 15 18-05-2012 , 02:11 PM
Registered User
Join Date: Mar 2007
Posts: 1,055
Hi,

I just had a quick look. In the clean file you sent me, first delete all history on the object. Then try again to assign a new material, planar map in Y, and assign a texture. This worked fine for me.

For the other scene, I tried to delete history and reproject the UVs but the result was the same, and I don't have too much time to look further just now. Hopefully the above will work on the clean scene - remember to delete the history first, and then once you've UV'd it, delete the history again before you do anything else,

cheers

gubar

Posting Rules Forum Rules
You may not post new threads | You may not post replies | You may not post attachments | You may not edit your posts | BB code is On | Smilies are On | [IMG] code is On | HTML code is Off

Similar Threads